
My sister just passed a landmark birthday and her gift request from me was a hand-made peanut-butter-cup cake. She is crazy for peanut butter, but scaling up a Reese’s to feed 20 people was a bit of a challenge. I’m not much of a baker (and my penmanship sucks) so Rachel helped me out a lot with this cake. Mad props to her, yo. By the time we were done, it looked like a buttercream grenade had gone off in the kitchen and my hand mixer smelled like burning. But, everyone loved this cake, so something must have gone right.
Makes: 9 round inches of peanut butter bliss
Total kitchen time: about 5 hours
Shopping List
For the cake:
- 1/2 cup milk
- 1/2 cup creamy peanut butter
- 1 tsp. vanilla extract
- 2 cups flour
- 1 1/2 tsp. baking soda
- 1/2 tsp. salt
- 2 sticks unsalted butter, cubed and brought to room temperature
- 2 cups brown sugar
- 4 eggs
- 2 9″ cake pans
- parchment paper

- Preheat your oven to 350°F and set the top rack to the middle position.
- In a small bowl, beat together the milk, peanut butter and vanilla extract until well combined.
- In a large bowl, whisk together the flour, baking soda and salt.
- Using your stand mixer, beat together the butter and brown sugar on medium speed until well combined. Add the eggs, one at a time. Working in small batches, add the flour mixture and peanut butter mixture. Mix for 1 minute more until fully combined.
- Cover the bottom of each cake pan with a round of parchment paper. To do this, tear off a large square of parchment. Fold the square into a big triangle. Then, fold into a smaller triangle by bringing the opposite corners together. Repeat once or twice more. Place the tip of your now-skinny triangle in the center of your cake pan and cut off the other end where it meets the edge of the pan. Unfold your triangle to reveal a circle the size of your pan. Voila!
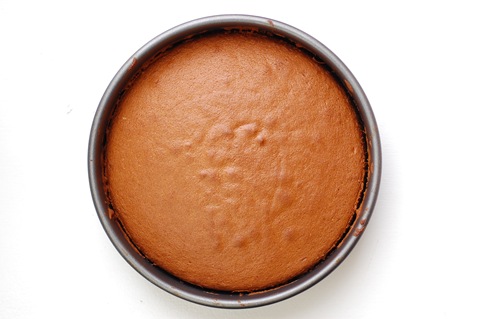
- Grease the inside of each cake pan with butter, then place the parchment circle in the bottom. Divide the batter equally among the pans and bake 25-35 minutes, or until a toothpick inserted in the center comes out clean.
- Let the cakes cool for at least 10 minutes in their pans before inverting them onto cooling racks. Level the top of each cake using a large serrated knife.
For the filling:
- 1 1/2 cups creamy peanut butter
- 1/4 cup powdered sugar
- 3/4 cup brown sugar
- 2 tbsp. cup heavy cream
- Combine all ingredients in a large bowl and mix until combined and slightly fluffy.
For the chocolate tart:
- 12 oz. semisweet chocolate, finely chopped
- 1/4 cup heavy cream
- 1 tbsp. unsalted butter
- 1 9″ tart pan with removable bottom
- Melt the chocolate, heavy cream and butter together in a double-boiler over medium heat. If you see steam coming out the sides of the double-boiler, turn the heat way down. If you don’t have a double boiler, melt the ingredients together in a glass bowl by microwaving on high power in 10-second bursts. Stir in between bursts until everything is very well melted. You want to get the mixture hot enough that it starts to sheen. This is super-critical, so take your time letting the chocolate come up to temperature.
- Generously grease the inside of your tart pan. I used a cooking spray – I found that butter was not slippery enough that the chocolate would release from the tart pan without cracking.
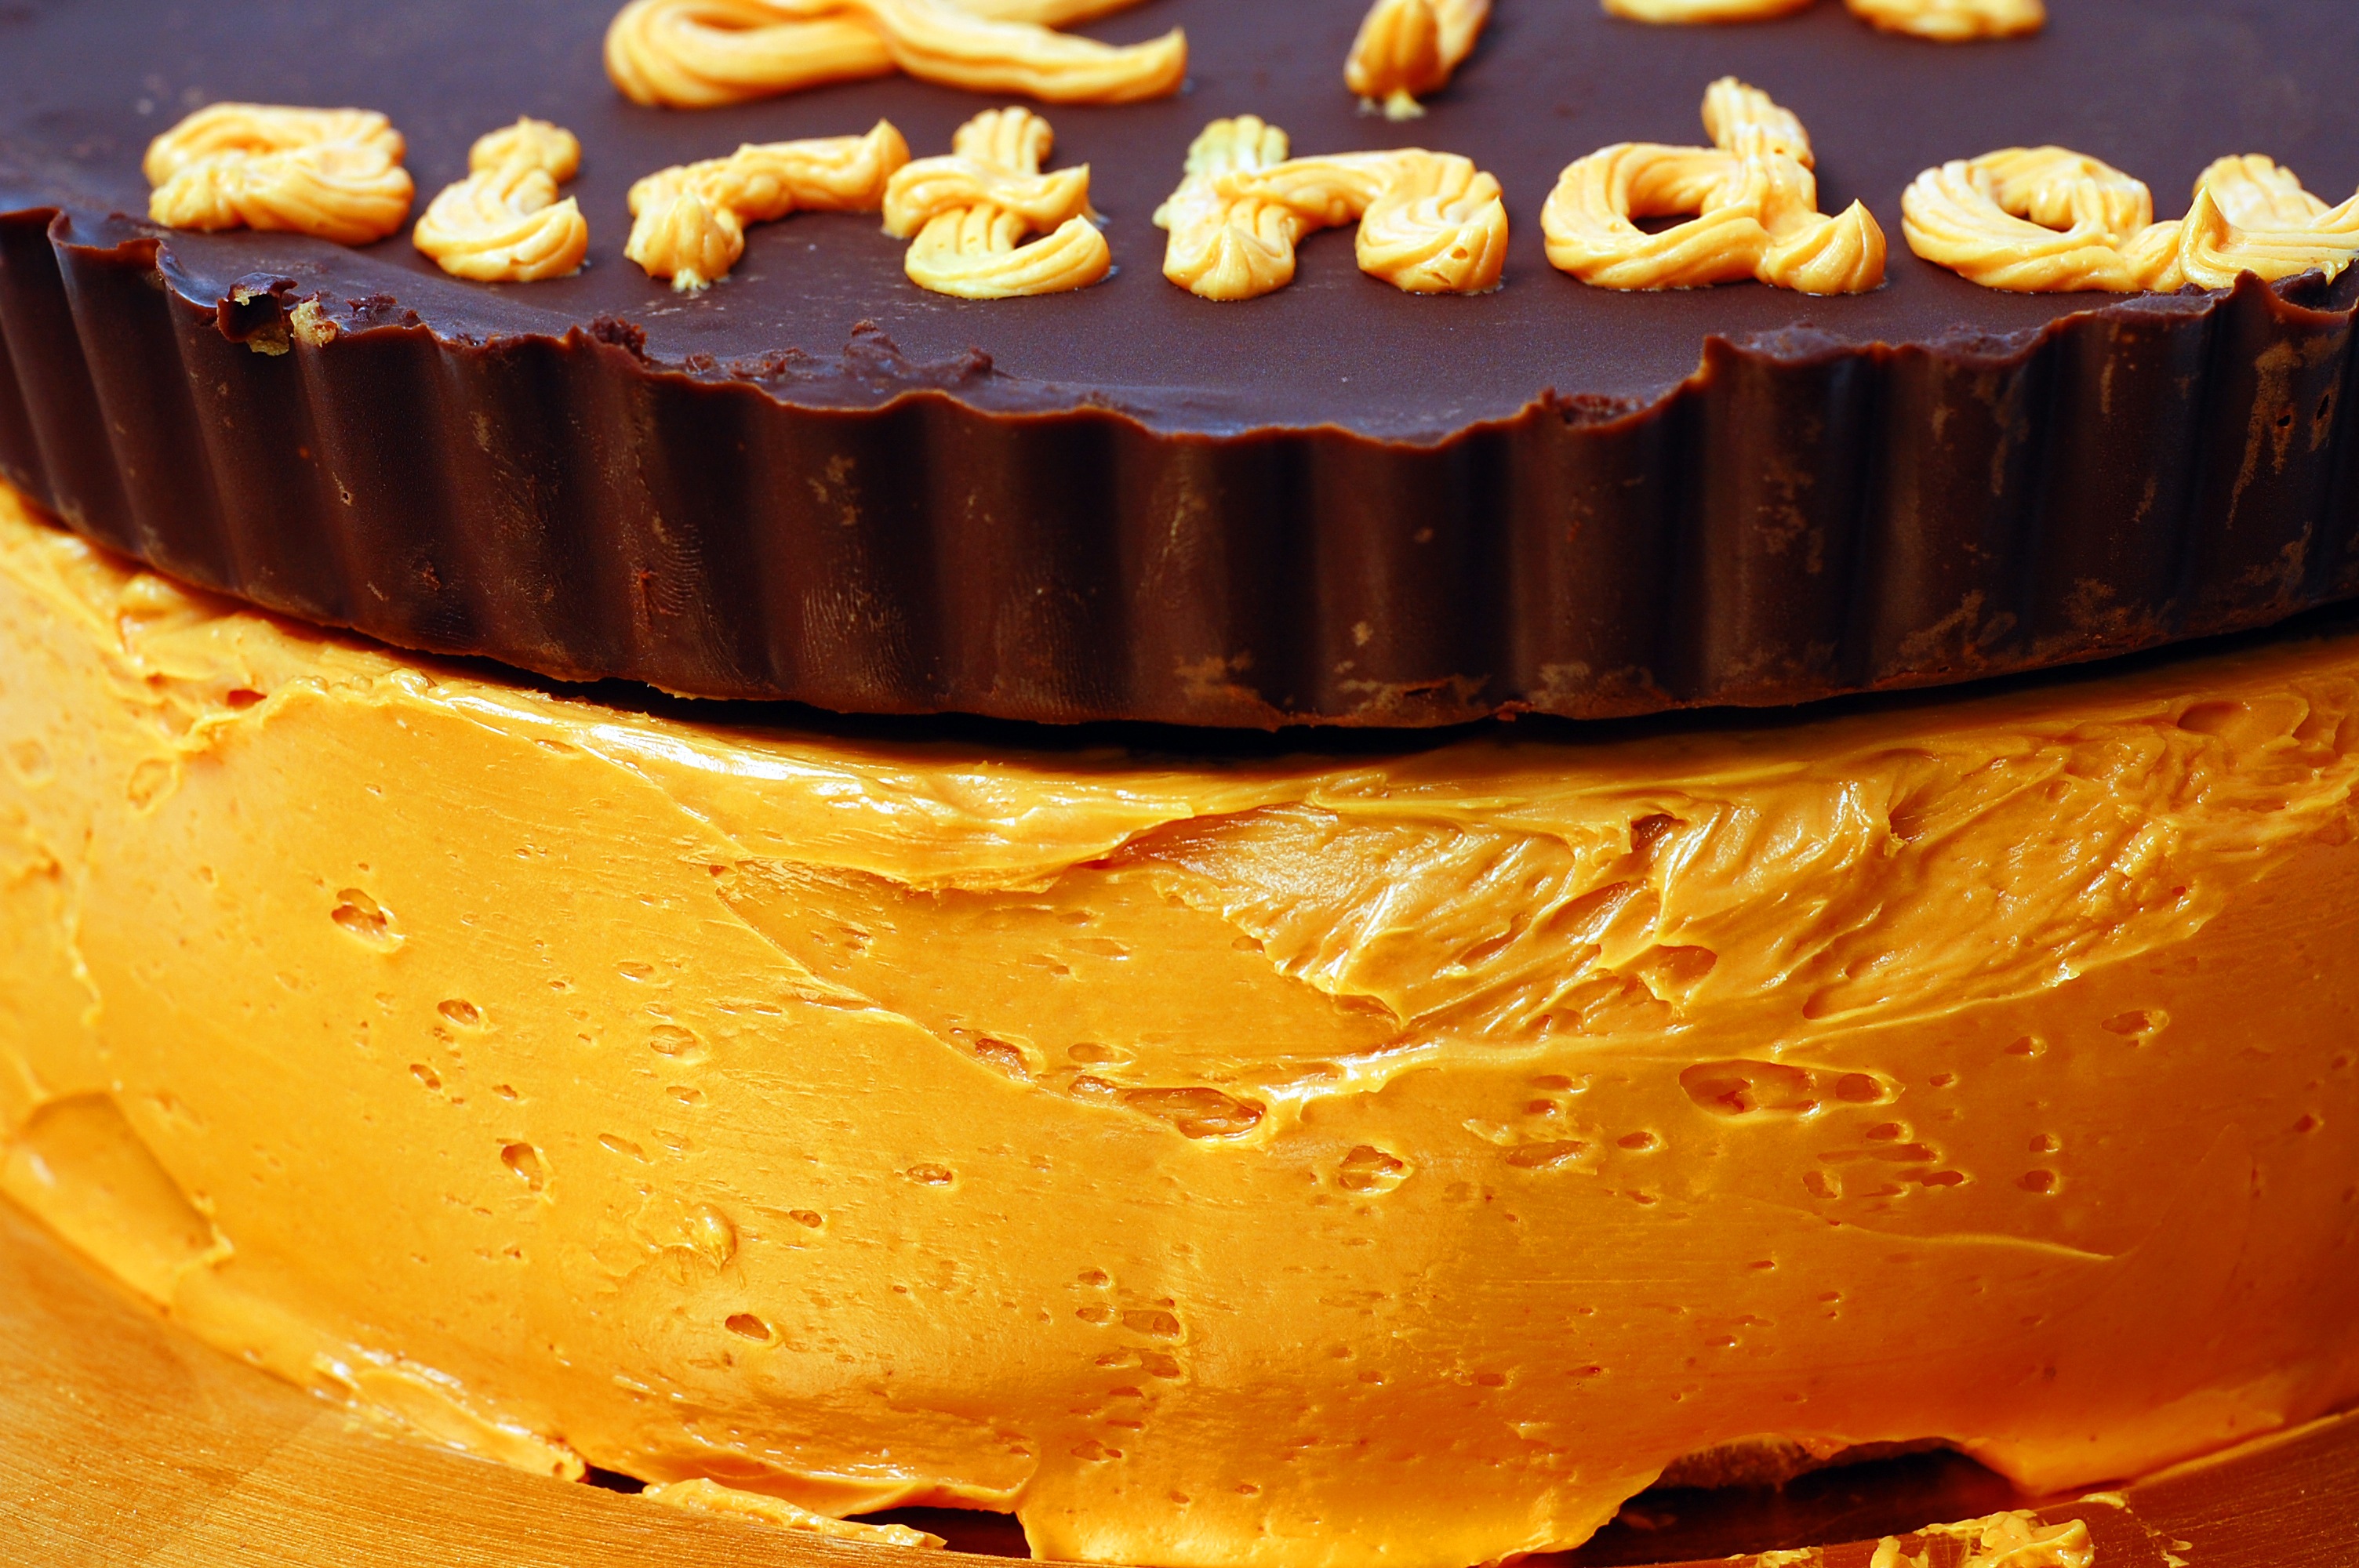
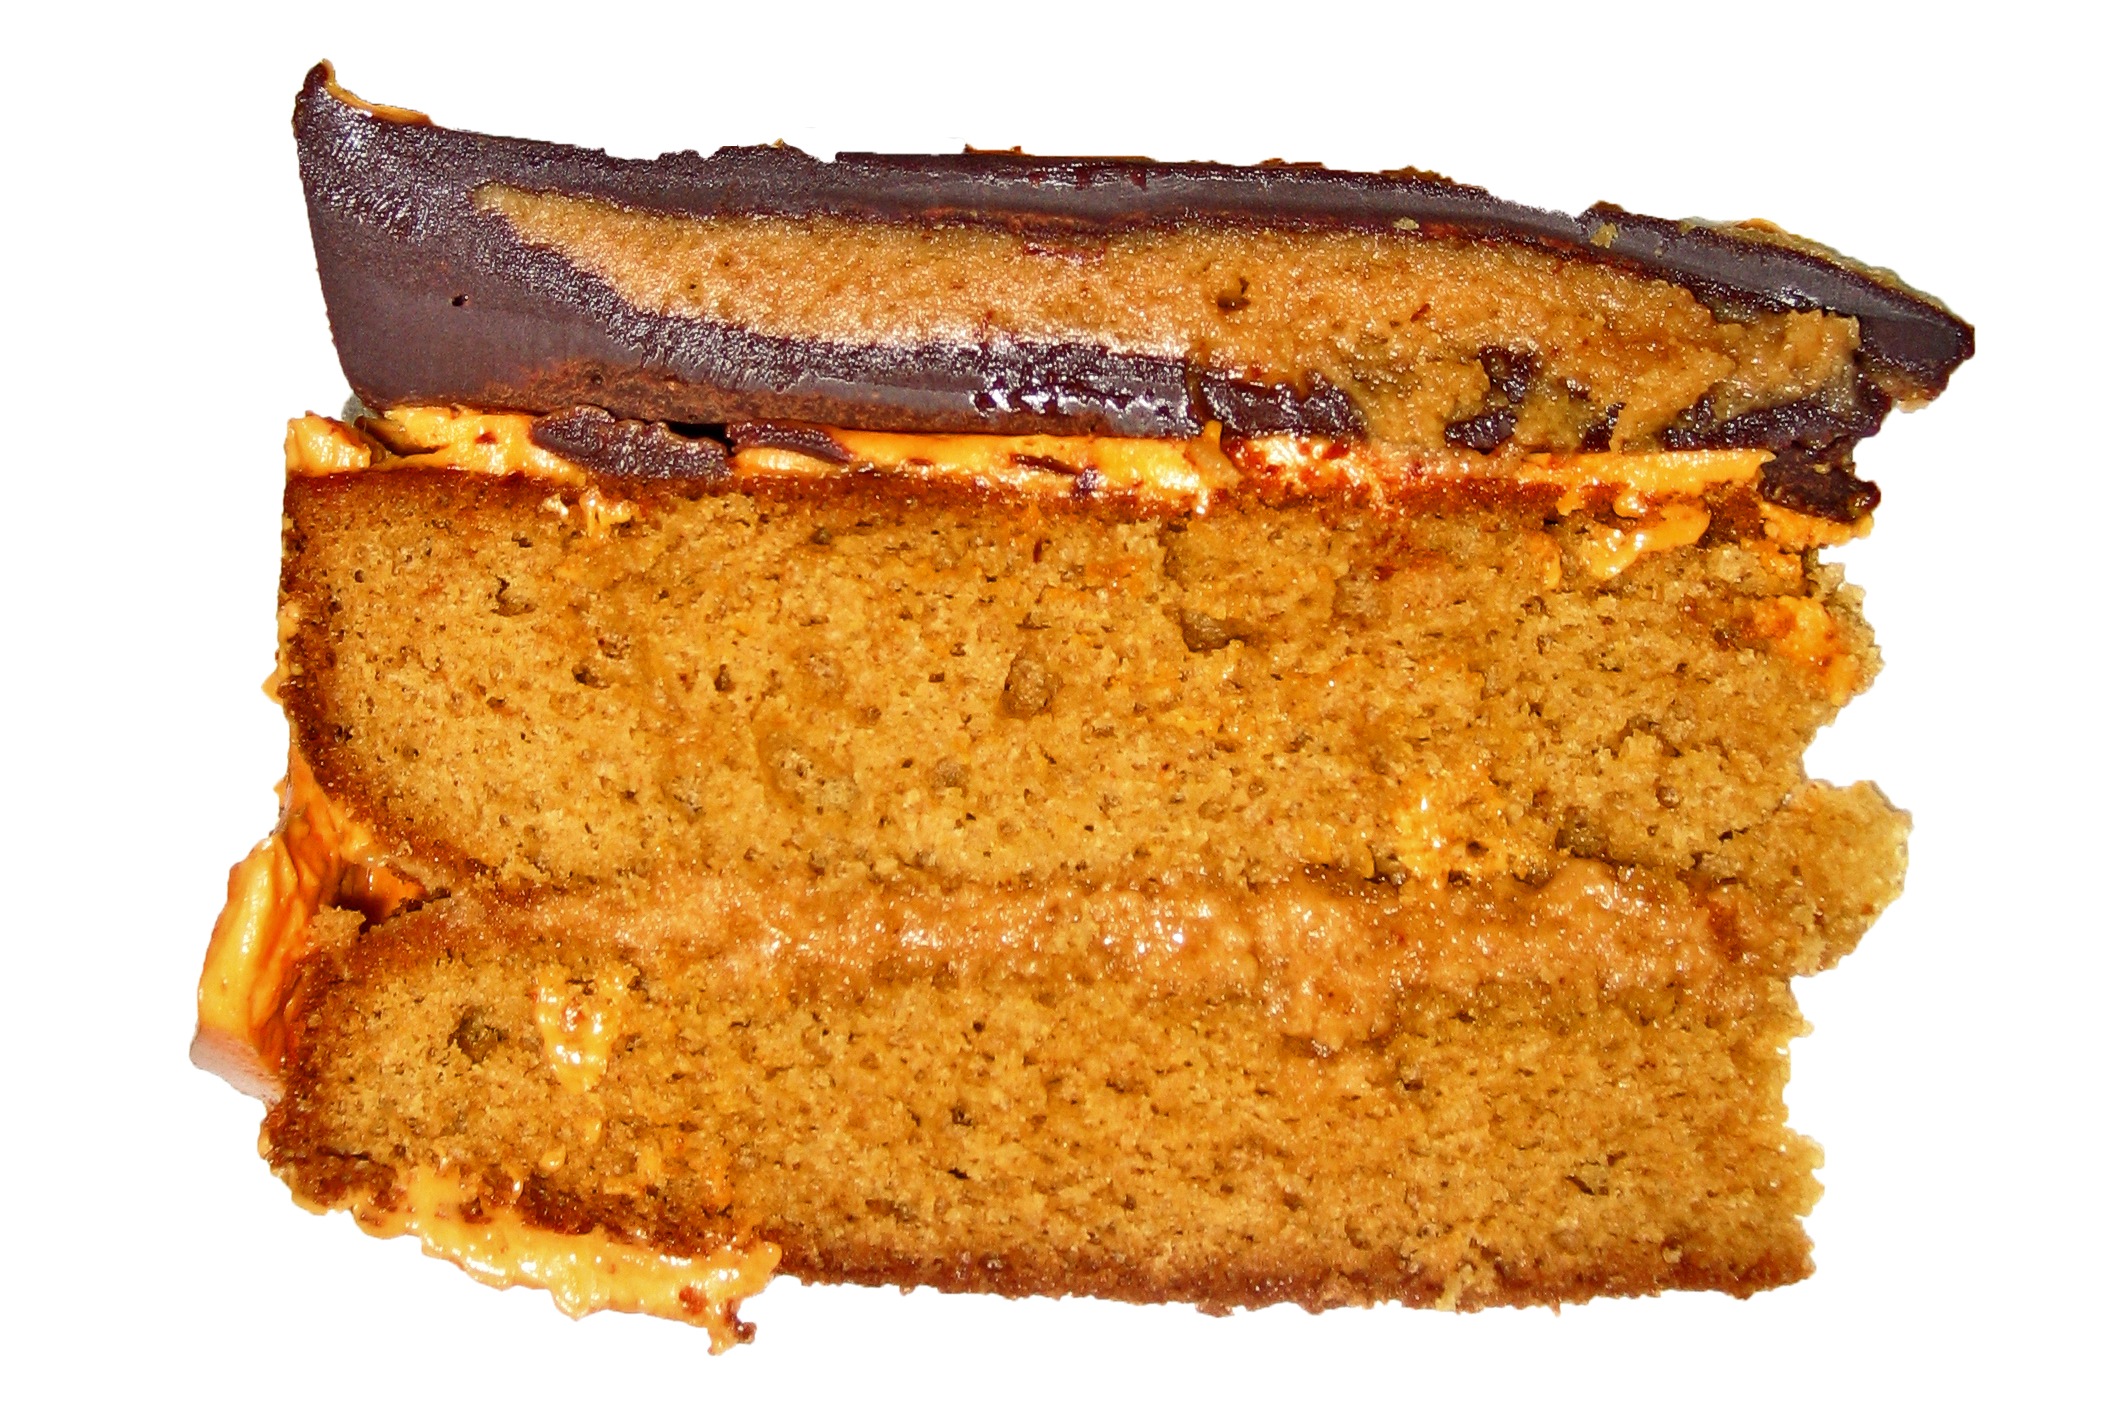
- Using a pastry brush, silicone brush, or a rubber spatula, spread an even layer of chocolate along the bottom and sides of the tart pan. You’ll want to thicken the layer at the corner between the bottom and the sides (visible in the cross-section picture above). This will help ensure that the tart doesn’t break when you remove it from the pan.
- Cool tart in refrigerator for at least an hour.
- Spread an even layer of the peanut butter filling across the bottom of the tart.
- With the remaining chocolate (which should be hot enough to glisten), pour a thin layer over the peanut butter filling. Spread the chocolate with a rubber spatula if needed, but try to handle it as little as possible. If the chocolate looks hazy, shake the tart pan vigorously until it begins to sheen.
- Refrigerate until you are ready to top the cake, at least 2 hours.
For the icing:
- 1 recipe Vanilla Buttercream
- 1 oz. Yellow #6 food dye (1 oz. = 1 small bottle shaped like a gnome)
- 1 tsp. Red #40 food dye (1 tsp = 80-100 drops)
- Combine the buttercream and the food dye until you have a bright orange bowl full of goodness before you. I literally poured the whole container of yellow dye in the icing and it was barely enough.
To Finish:
- Spread a layer of peanut butter filling on top of one of the leveled cakes. Invert the other cake on top.
- Ice the top and sides with buttercream icing.
- Place the chocolate tart atop the whole cake.
- Cut and serve!
Miraculously, we were able to slice straight through this cake, chocolate tart and all. This was a major crowd pleaser and people pleaded for the recipe. I’m just glad the cake made it to the party in one piece!
mmarghagaghumm aghm. (Delicious cake in mouth).
I always screwup the final part of writing over the cake…I usually have my mom do it for me 🙂
My boyfriend has been begging me to make a “peanut butter pie”. This recipe looks really close to what I imagined…will be making soon. Thank You, great blog!
NB
I just got through making this cake (I actually did them in cupcake form). Great fluffiness! It’s what I was after. I’ve been looking high and low on the internet for a fluffy, moist peanut butter cake, and this is very close. I would have wanted them a bit more moist and with a bit more peanut flavor. Overall great cake! 4.5 stars out of 5! Thank you for posting and for clear directions!
Pingback: MUI7GLkEnc MUI7GLkEnc