
Rapid Prototyping GIR’s Voltaire for Coffee Freshness Sensing
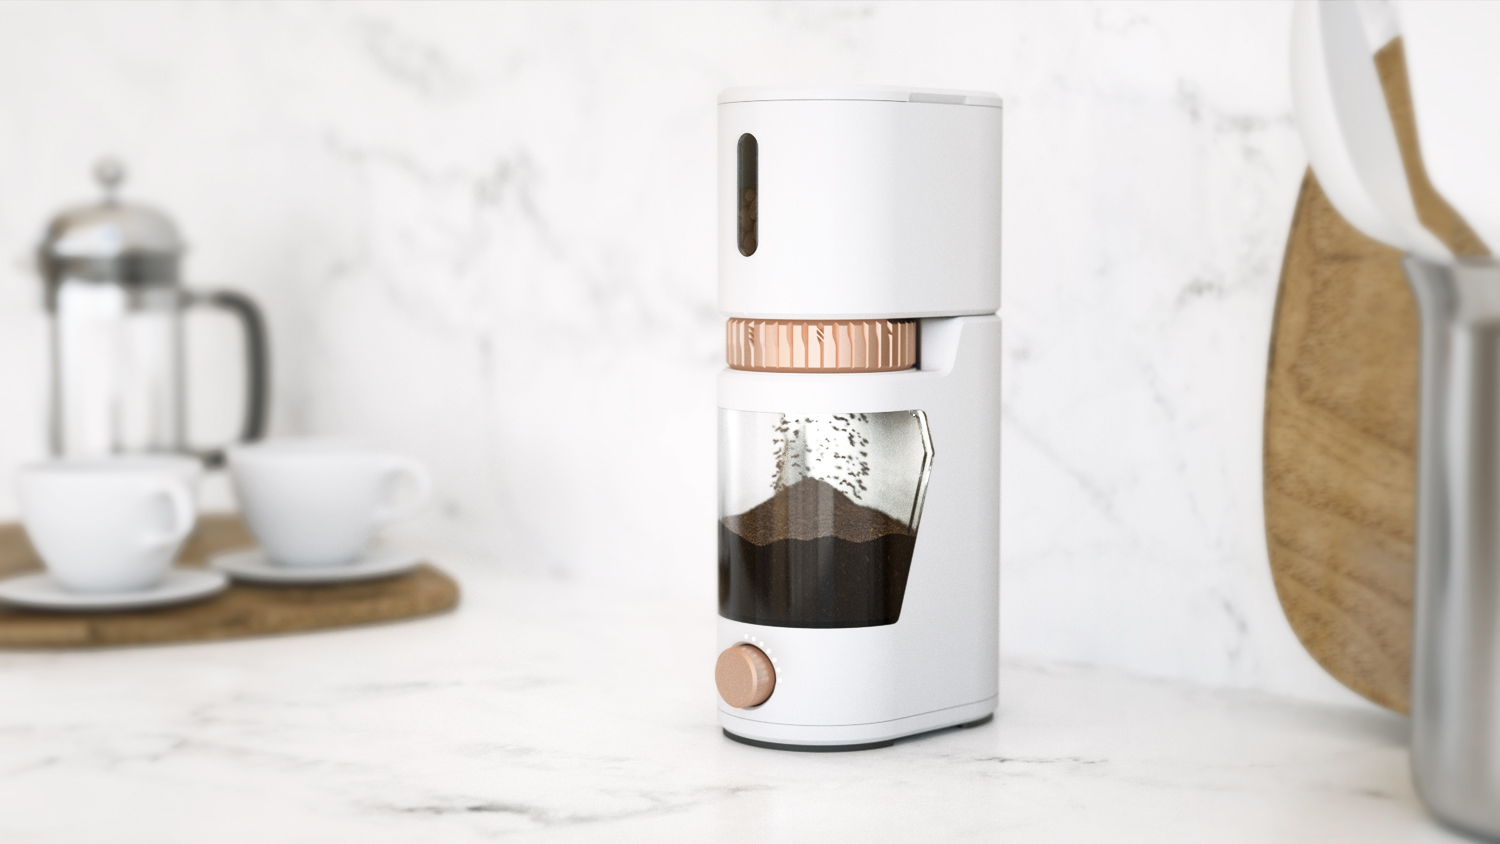
I had the incredible opportunity to help the GIR team develop the coffee freshness sensing technology that will become part of the Voltaire, launching on …
I had the incredible opportunity to help the GIR team develop the coffee freshness sensing technology that will become part of the Voltaire, launching on …
Navigating the world of Modernist cooking equipment can be a daunting task for the uninitiated, but don’t worry, I’m here to help. This year’s list …
Before Modernist Cuisine, and certainly before Modernist Cuisine at Home, I thought pressure cookers were antiquated, holdover kitchen appliances, like manual egg beaters or the …