I’m Returning to Modernist Cuisine
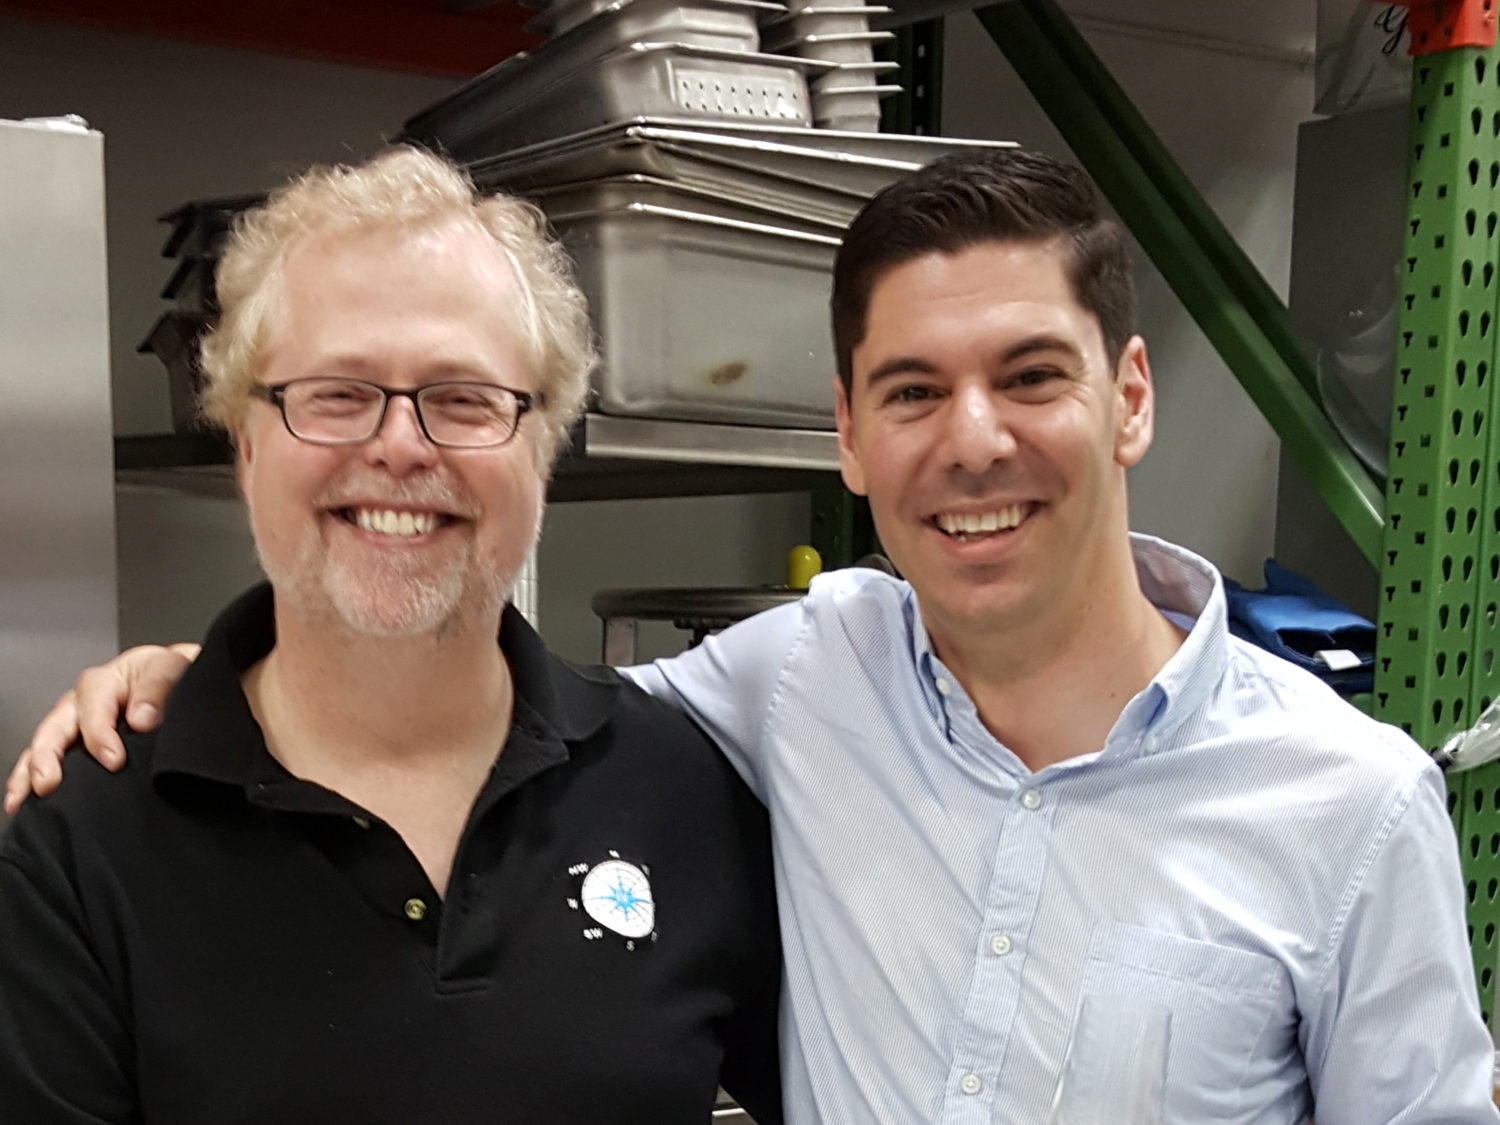
I’m thrilled to announce that I’m returning to Modernist Cuisine as Technical Director! Although I can’t talk publicly about the projects I’ll be working on …
I’m thrilled to announce that I’m returning to Modernist Cuisine as Technical Director! Although I can’t talk publicly about the projects I’ll be working on …
Today is my last day at Modernist Cuisine. After three and a half years serving as the Director of Applied Research, it’s time for me …
I had the honor of speaking at this year’s Chicago Ideas Week, as part of a session on the creative process. The entire conference was …