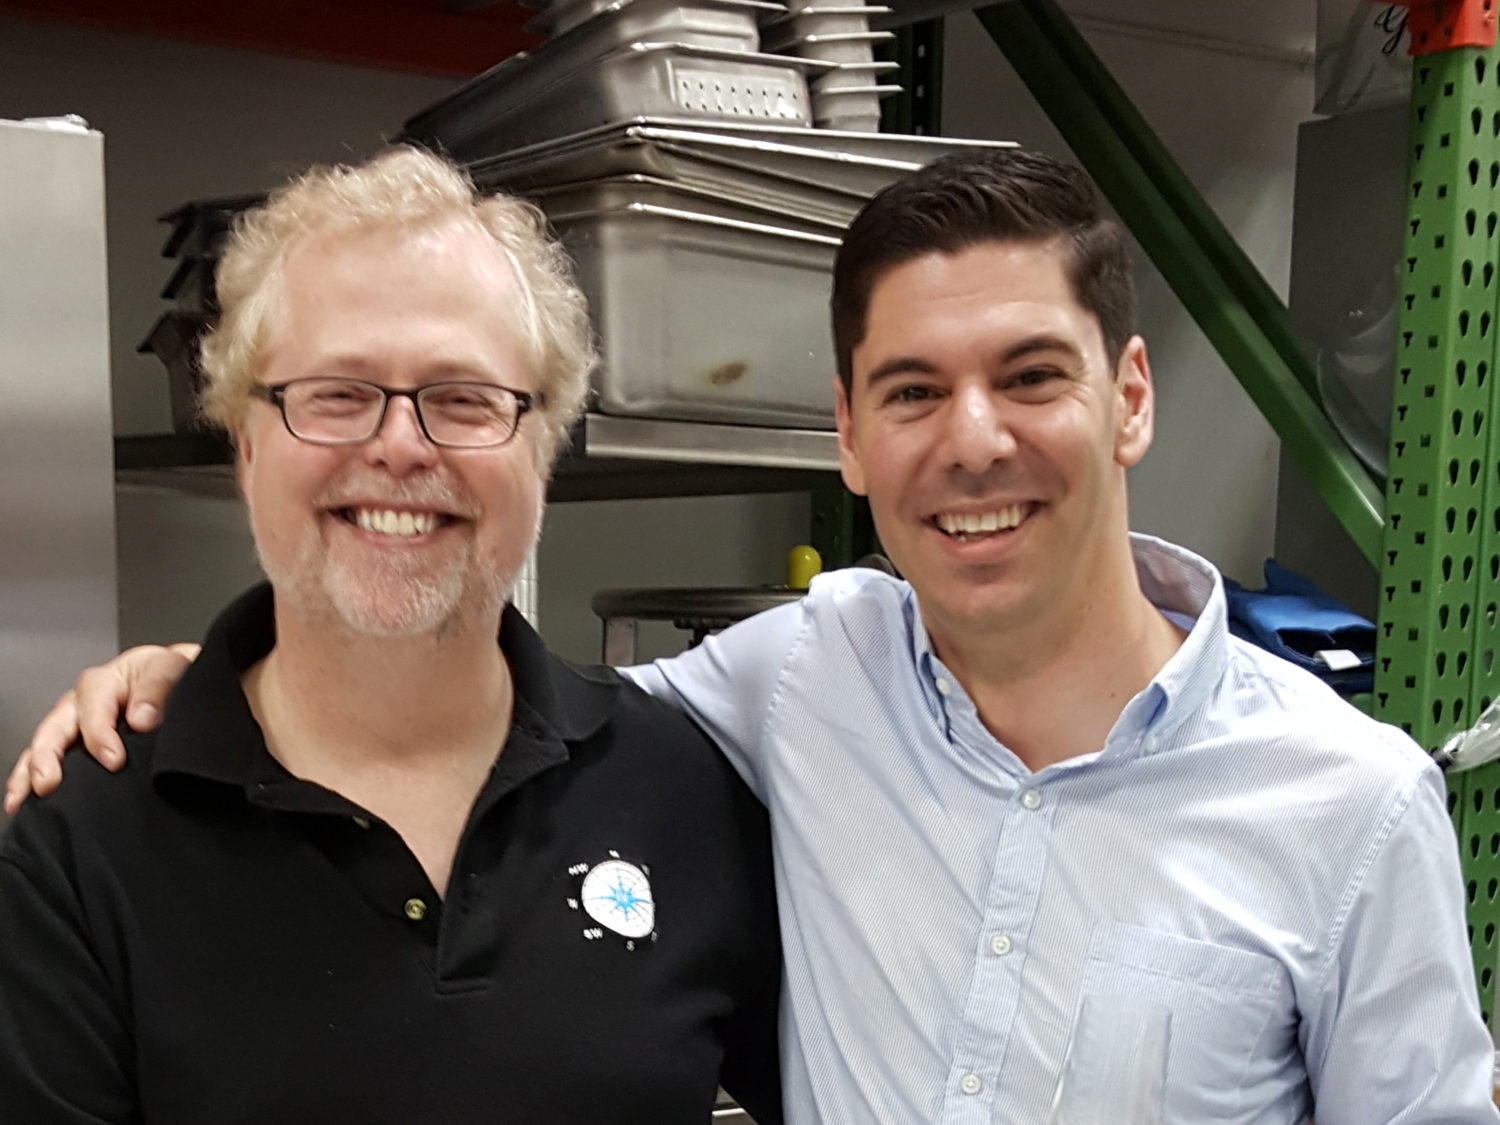
I’m Returning to Modernist Cuisine
I’m thrilled to announce that I’m returning to Modernist Cuisine as Technical Director! Although I can’t talk publicly about the projects I’ll be working on …
I’m thrilled to announce that I’m returning to Modernist Cuisine as Technical Director! Although I can’t talk publicly about the projects I’ll be working on …
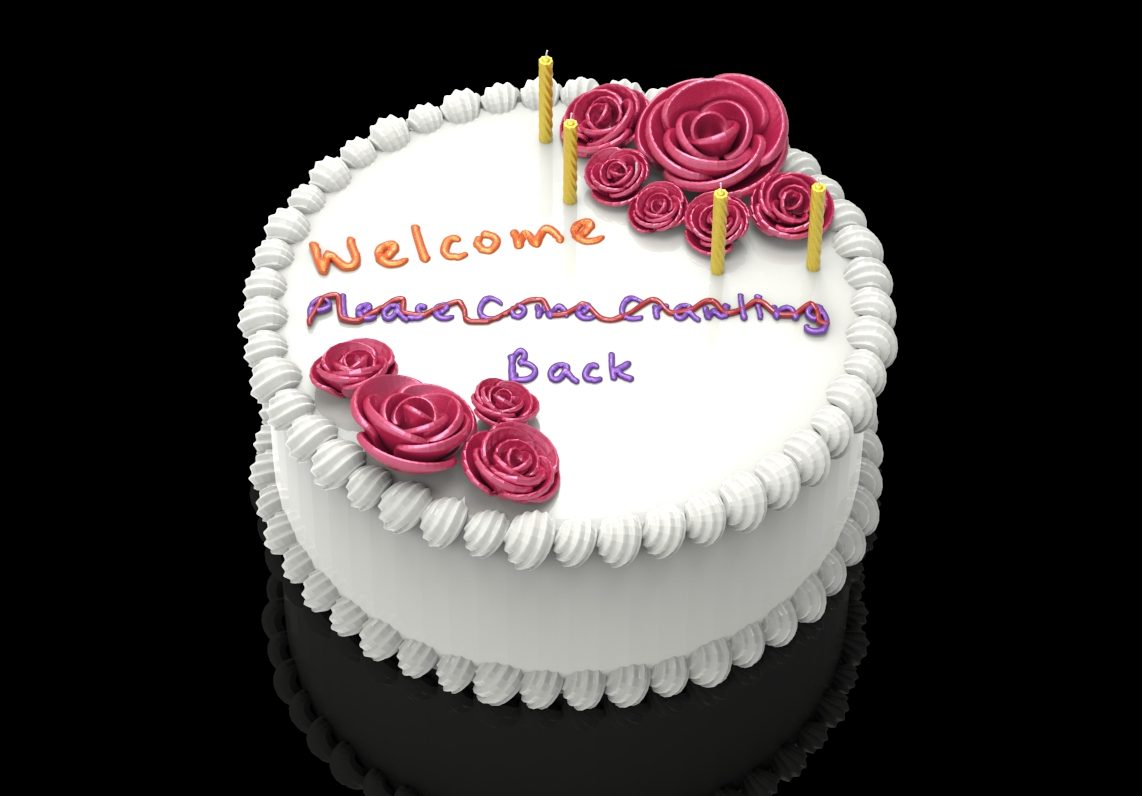
Today is my last day at Modernist Cuisine. After three and a half years serving as the Director of Applied Research, it’s time for me …
This has been an incredible year. 362 days ago, as of the time of this writing, I walked into Modernist Cuisine headquarters for my first …