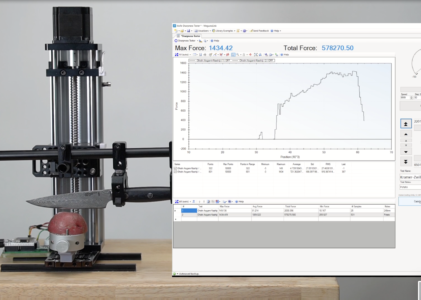
DIY Laser-Cut Gold Leaf Drink Coasters

I’ve got great glassware and I can mix a decent drink. 
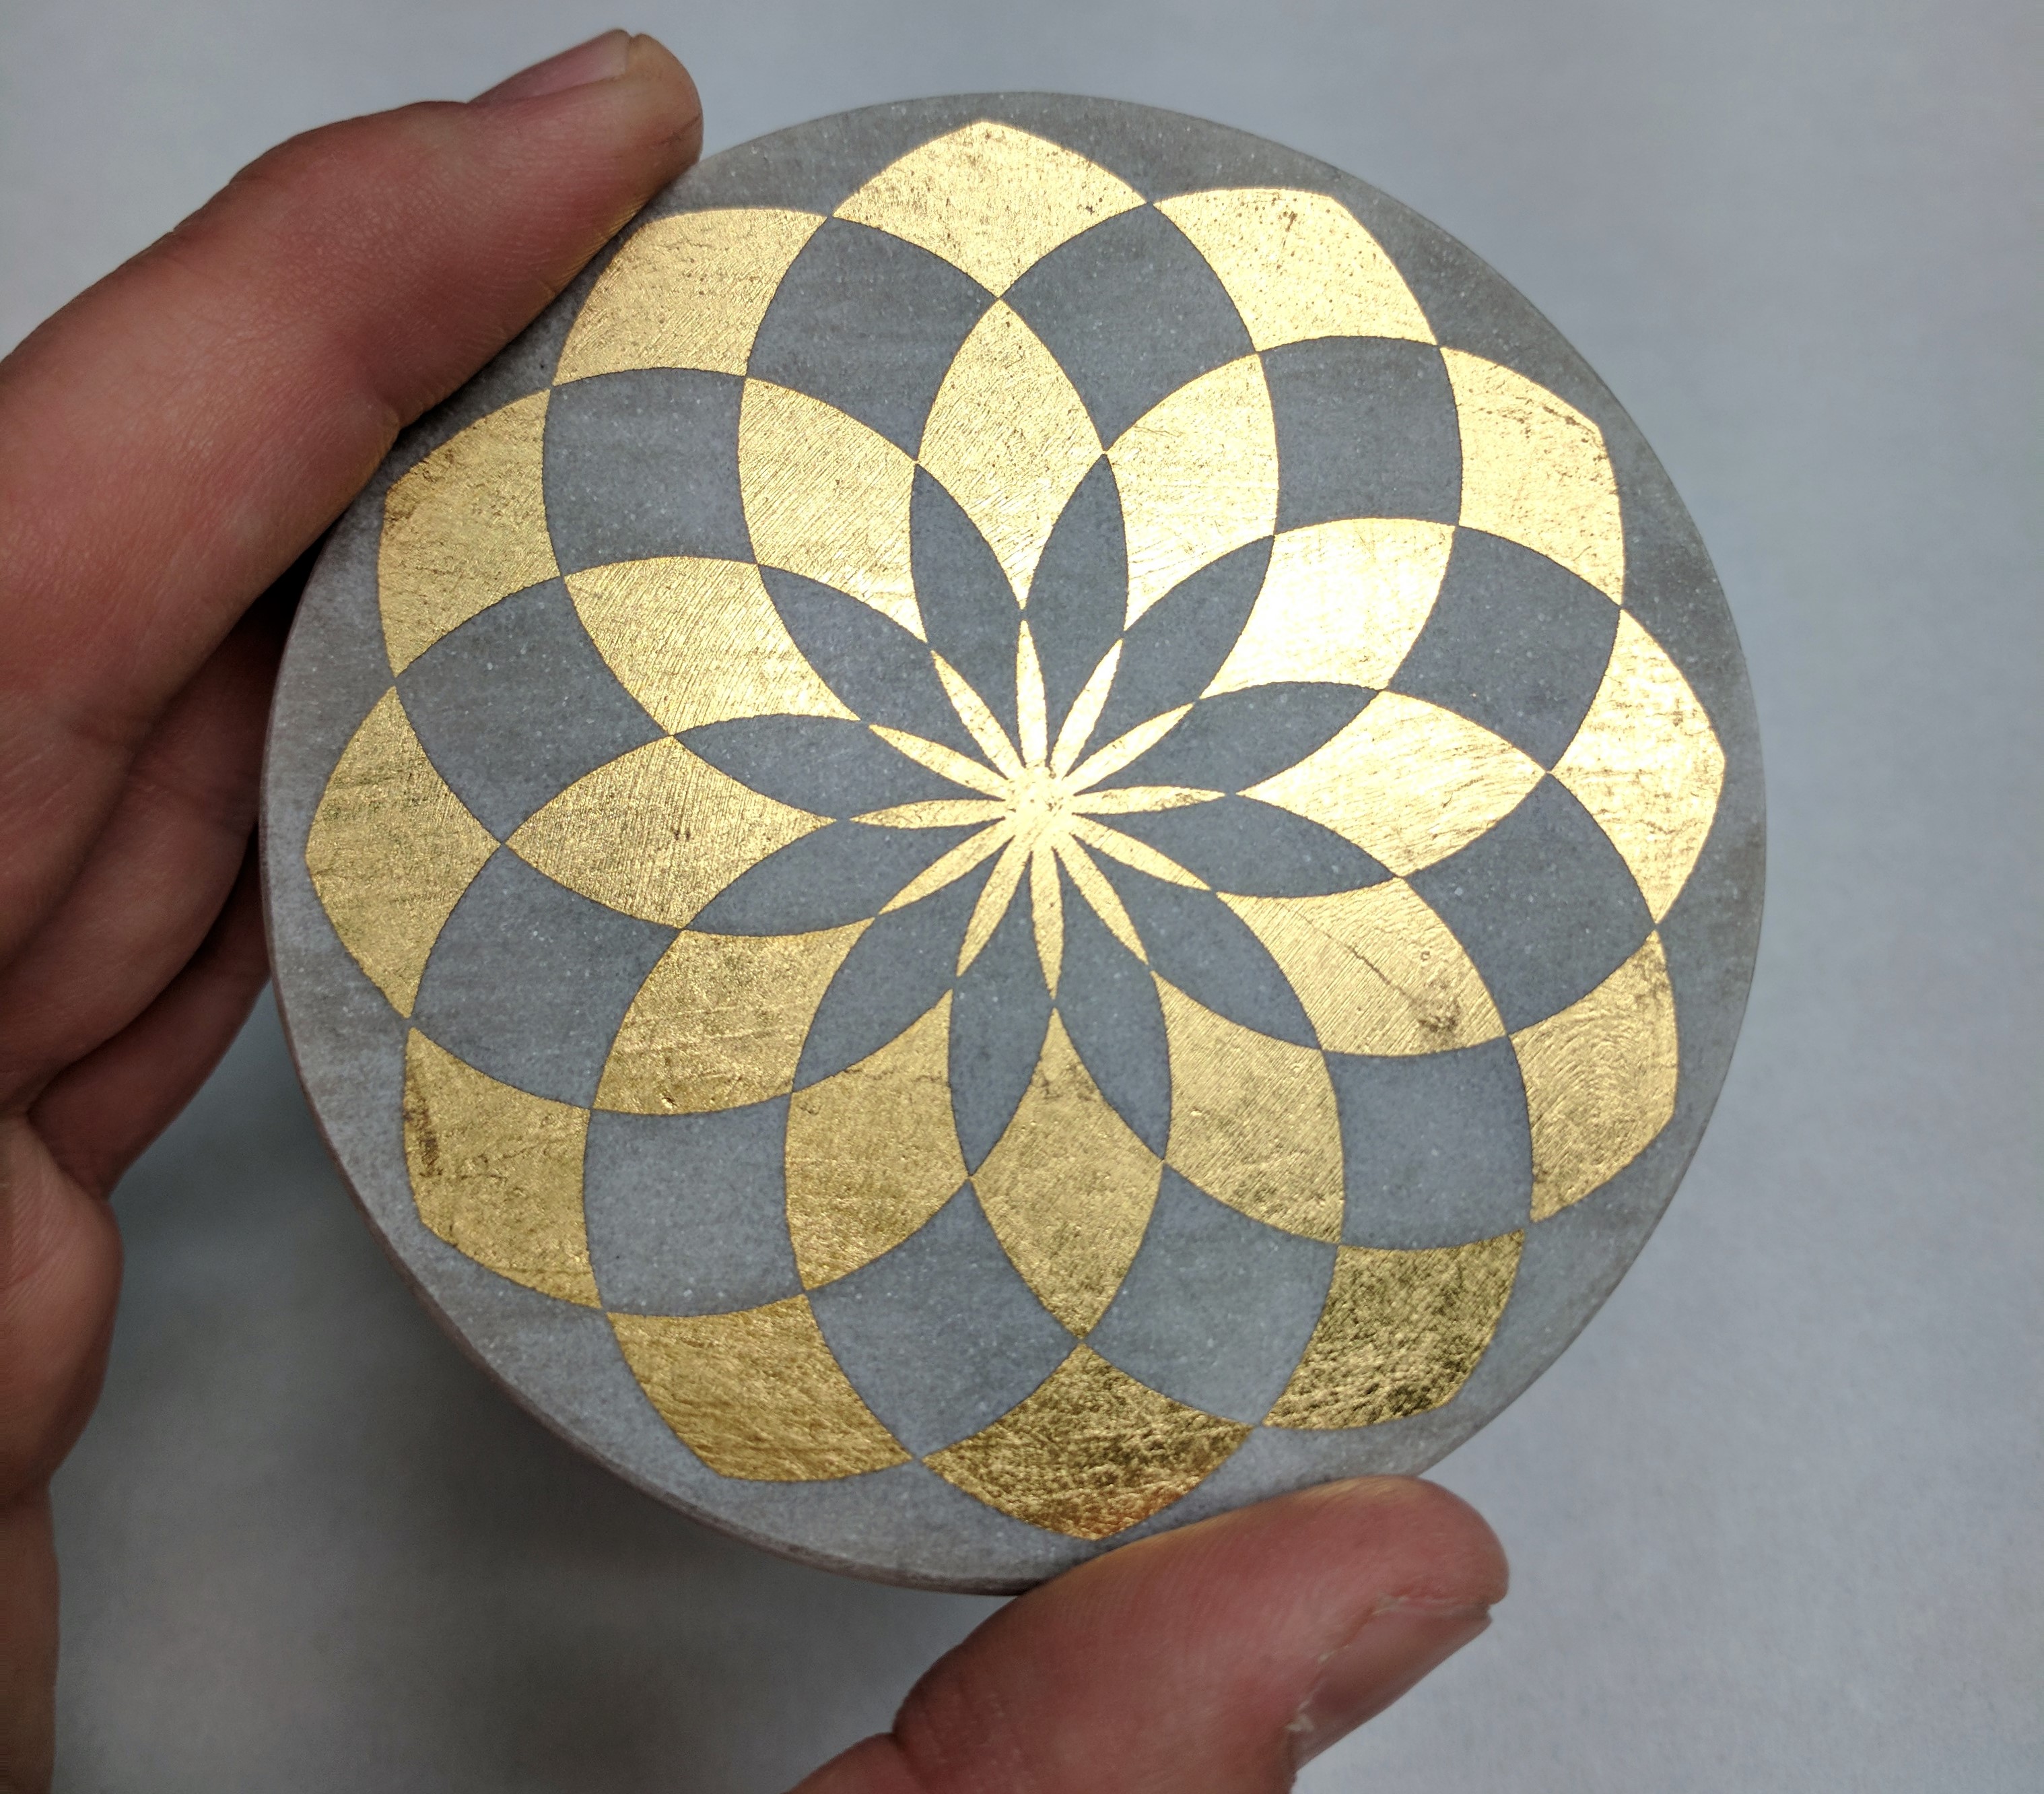
So what’s the next step in advancing my home cocktail program? Custom drink coasters, naturally. I made these laser-etched, marble and gold coasters to match the pattern on my ice stamp, which is either very thoughtful or clinically obsessive, depending on your perspective. Here’s how I made them.

  1. Buy some marble coasters. The same technique will work with other natural stone, and with larger pieces like a cheese board or serving tray.
  2. Most (not all) marble coasters will have a sealant or coating on them. If it looks glossy, it’s probably coated. Sand off the coating with 180 grit sandpaper. This will help the gold leaf adhere. Make sure the coaster surfaces are clean and dry before the next step.
  3. Coat the top surface of the coasters with metal leaf adhesive, following the manufacturer’s instructions. Allow to dry until tacky as instructed.
  4. Coaster and gold leaf
    Working one at a time, lay a sheet of gold leaf flat on your work surface. Place the coaster, adhesive-side-down, onto the gold leaf. Give it a good push and a little shimmy from side to side. Then, use a brush (I like silicone pastry brushes) to push any overhanging parts of the gold leaf into any empty areas of the adhesive. Handle the coasters carefully at this stage, as the gilding can easily scratch.Coaster on top of gold leaf
    Coaster with gold leaf applied
  5. Next, fire up your laser cutter / engraver. This is the cool part. Using minimal power and raster etching (as opposed to vector cutting), the laser will vaporize the gold foil while leaving the marble beneath largely unscathed. This leaves you with incredibly sharp lines. A few tips:
    1. Your artwork will need to be inverted before etching. That is, the black parts of the artwork gets removed, and the white parts of the artwork is where the gold leaf will remain.
    2. If you’re using a “full bleed” design like mine, make sure the black area of your artwork extends beyond the edges of your coasters.
    3. Running these etching jobs in a large batch is way faster than etching them individually. To get the artwork aligned with the coasters, lay down a sheet of butcher paper across your laser cutting bed. In your artwork, create an outer outline in, say, green. Then, arrange the multiple instances of your design – say, 6 columns, 2 rows. In a first pass, disable the black raster layer, and set the green layer to just barely singe the paper you laid down. Now, you have a set of faint circles that correspond to exactly where you should place your coasters. Turn back on the black raster layer and you’re ready to etch.

  6. Finally, seal your coasters using a spray sealer for metal leaf.

I nearly cheaped out and bought faux gold leaf as opposed to the real stuff. I’m so glad I didn’t. These coasters have the unmistakable luster of real gold. The sharp lines in the design represent a level of craftsmanship I could never have achieved by hand or with a stencil. And the fact that they’re DIY and one of a kind makes me that much happier, every time I set down my drink.

IMG_20170727_193754

How to Make Cotton Candy with an Aerolatte

My previous attempts at DIY cotton candy were insanely dangerous, and frankly, a lot of work. However, I realized that my Aerolatte might be an even better tool for the job. The Aerolatte is sold as a milk frother, and it certainly does that job well. But I’d argue that this tool is one of the most versatile and convenient pieces of gear in a Modernist home kitchen. The Aerolatte is a battery-powered whisk that’s perfect for mixing liquids in small quantities. I use to incorporate hydrocolloids like xanthan gum and tapioca starch into sauces – an application where thorough mixing is critical. I also use it to quickly dissolve salt and sugar into liquid brines, to emulsify salad dressing, and even to hyperdecant wine, a glass at a time.

But let’s talk sugar spinning.  Professional and home cotton candy machines work by heating sugar inside a fast-spinning chamber. The centrifugal force produced by the spinning motion forces molten sugar through very tiny holes or slits in the chamber. As the sugar is pushed out, it forms thin filaments that solidify almost instantaneously to form the characteristic delicate threads of cotton candy. However, in our DIY approach, we can use the Aerolatte’s spinning whisk to produce the necessary centrifugal force.

Here’s the recipe:

  1. Start by heating granulated sugar in just enough water to wet it. Bring the sugar to a boil, monitoring the temperature with a candy thermometer or an infrared thermometer, and without stirring. The temperature will stall at 212°F until most of the water has boiled off. At this point, reduce the heat to avoid overshooting the final temperature of the sugar.
  2. Continue heating until the sugar to at least 260°F. This is the minimum temperature, in practice, at which it will produce threads. However, anywhere between 260°F and 300°F is a safe temperature range to reliably produce cotton candy. At lower temperatures the cotton candy will be more pliable, and at higher temperatures the final product will be more brittle.  Unlike caramel or candy making, you don’t need to be super obsessive about maintaining a precise temperature here.
  3. With the Aerolatte off (not spinning), dip the whisk tip in the molten sugar. Then, while holding the Aerolatte perfectly vertical, position the tip just below the opening of a wide bowl and switch the Aerolatte on. The whisk will spin, throwing threads of sugar outward.  It’s important to use a bowl that’s at least 12” wide, so the sugar has room to form long threads before hitting the wall of the bowl.
  4. Repeat this process until you have enough cotton candy for your application.

Just as with a cotton candy machine, you can also melt down hard candies instead of using granulated sugar. Additionally, you can add color and flavor to the molten sugar; dry powders work well, but oils and fats can affect the formation of the sugar threads.

How to Make an Animated Jack-O-Lantern With a Smartphone or Tablet

I love pumpkin carving – it’s my favorite part of Halloween.  This year, I decided to do something a little different with my jack-o-lanterns: animate them!  I was inspired by the guys at DigitalDudz, who came up with the very clever idea of brining Halloween t-shirts to live by taping your smartphone or tablet inside the shirt and playing a video that aligns to the image on the front of the shirt.  If it works for a t-shirt, why not a pumpkin?

The process is quite simple. 

  1. Start by picking a video that you want to incorporate into your pumpkin design. There are lots of videos on YouTube that will work, but I really liked the HallowEyes video pack ($6 CAD) from Hallowindow.com
  2. Next, pick the device that you’ll use to play the video.  Any digital device will work: an iPad or iPhone, any other smartphone, a Kindle Fire,  a digital picture frame that supports video playback… even a small monitor or pico projector connected to a laptop.  For extra versatility, consider using more than one device (ex. a smartphone for each eye).
  3. Load the video onto your device.  Then, lay a piece of paper over your device’s screen and trace the outline of the important part of the video.  In my case, I traced the outline of each eyeball.
  4. Pick the side of your pumpkin that you wish to carve.  Transfer the outline from the paper to the pumpkin by poking a series of small holes into the pumpkin around the lines on the paper.  Be sure to pick an area on your pumpkin where the device will fit nicely, remembering that most devices have a bezel that adds extra width.
  5. Cut a hole in the opposite side of the pumpkin, ensuring the hole is large enough to fit your device.  Scrape out the guts. 
  6. Put your video device in a clear plastic bag to protect it from the guts of the pumpkin.  Most touchscreens will still allow you to control them through a thin plastic bag.
  7. Make a small alignment hole where you want the video to appear.  In my case, I made a 1/2” hole in the center of each eyeball.  Insert your device with the video playing and check the alignment against those holes.  Then, working with a small amount of material at a time, scrape out the inside flesh of the pumpkin until your device fits against the inside wall.  Be careful not to scrape too far or you could puncture the inner wall of the pumpkin.
  8. Remove your device from the pumpkin.  Working from the outside face, gradually expand the alignment holes until they reveal the correct part of your screen.
  9. Finally, insert your video device one last time and hold it in place using toothpicks inserted into the inside flesh of the pumpkin.  Play the video (on repeat, if your device supports it).

If you liked this project, check out my primer on carving pumpkins with a laser,