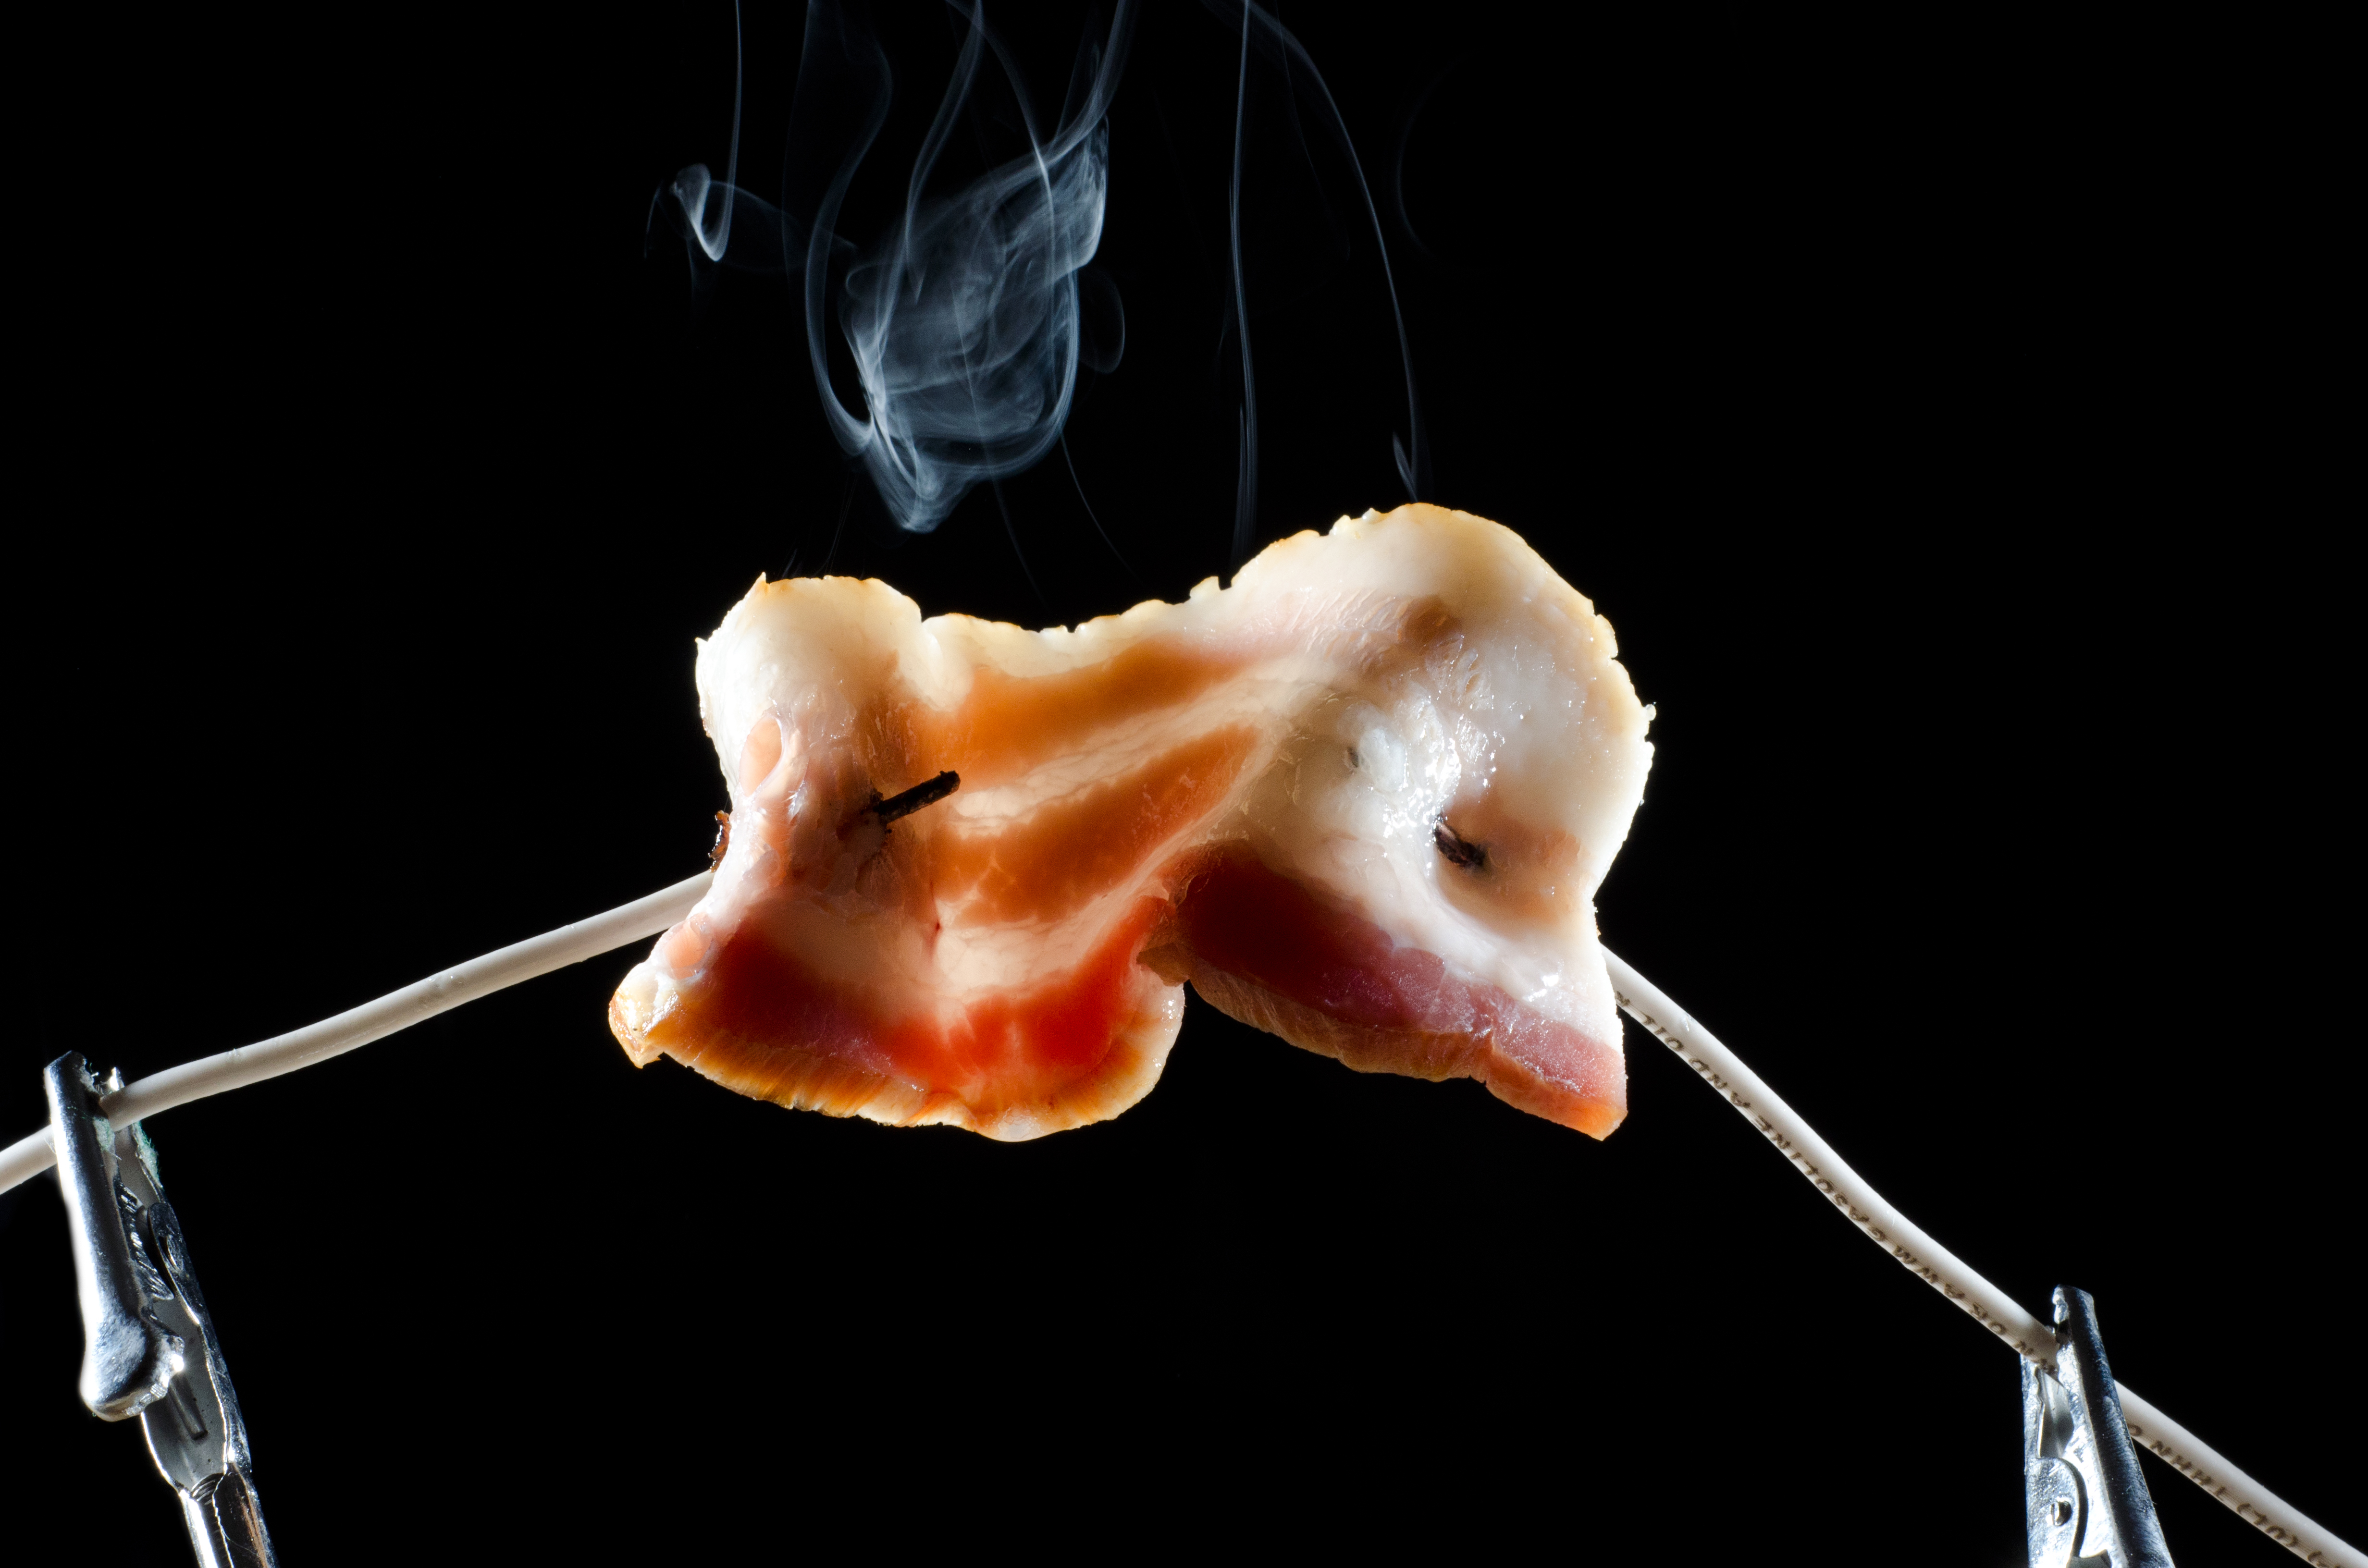
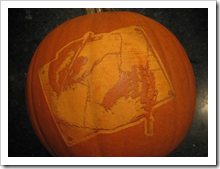
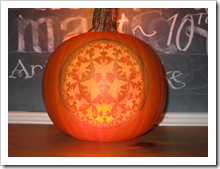
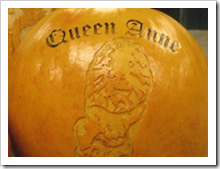
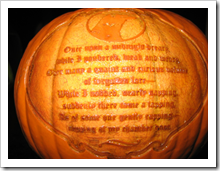
I’m a huge geek, and I love carving pumpkins. So, when I found out that I had access to a 30W CO2 cutting laser, there was only one thing that came to mind: laser-carved pumpkins. Every October, I spend a few weeks in the lab working on new techniques for perfecting my laser pumpkins. Below is a research paper I wrote detailing the process. It might be a little dry, but the results are, well, scary! And, in case you haven’t seen the results, here are my laser-carved creations from the past few years.
Aims
The purpose of this document is to communicate the results of research relating to laser etching the surface of pumpkins. I will describe the heuristics I developed for successful and repeatable etching. Additionally, I will suggest new possible approaches and applications of my research that may produce patentable processes with broader-reaching applications than pumpkin etching.
Rationale
I originally began this research to fulfil a personal hobby – pumpkin etching. For the last several years, I have been creating pumpkin versions of fine art paintings by hand. My prior method involved
· preparing an image for etching using digital photo editing software,
· transferring the design to the pumpkin by means of tracing,
· removing the outer flesh of the pumpkin in the areas of negative image space,
· and, illuminating the pumpkin from the interior to provide a high-contrast effect.
Although the manual method has been very successful, it is limited in two primary ways:
1. The entire process, even for a simple image, takes upwards of 90 minutes to complete.
2. The level of detail and accuracy of the shapes in the image is limited by human precision and patience.
However, using a computer-controlled device to produce the etched image overcomes these limitations. A CO2 laser cutter and engraving machine suits this application quite well.
Methods
I prepared images for laser engraving by employing various image manipulation techniques. Then, using a laser cutter, I engraved the images on to the surface of pumpkins. By managing the speed, power and distance from the focal point I was able to optimize the quality of the final etchings.
Future Research
I believe that a spiral method of engraving may be more efficient than the 2-axis engraving method. I propose that a design for a spiral-based engraving technique may be patentable.
Materials and Methods
Materials
- Laser Cutter and Engraver
- LS Model M-300
- 50 Watt CO2 Laser
- 2” and 4” focal length lenses
- 12”x24” cutting area with 8” of vertical clearance
- Adjustable-height cutting table
- Air-cooled cutting head
- Red Dot Pointer
- Pumpkins
- 6-8” Sugar Pie pumpkins
- Spherical
- Medium-dark orange flesh
- Shallow ridges
- 3-5” Jack Be Little pumpkins
- Flattened shape
- Orange flesh
- Deep ridges
- 6-8” Sugar Pie pumpkins
- Software
- Adobe Photoshop CS3 (image authoring)
- Adobe Illustrator CS3 (vector transformation)
- CorelDraw
Image Preparation
The first step in the etching process is to prepare the source images. This step is critical to the success of the pumpkin. Over-detailed or overcomplicated images do not present well, particularly on the small pumpkins that the laser could accommodate. Therefore, it is necessary to prepare ones artwork thoughtfully before etching. I used a variety of image sources for my designs (scanned images, digital photos, vector graphics) but I needed to reduce all of the images to black and white. I employed one or more of the following techniques to create an “etchable” image:
Color Flattening
This is the simplest method of image preparation. Simply open a color image in Photoshop and change the image mode to black and white.
Color flattening works well on images that were originally black and white. However, this technique will not always work well on images that depend on color information. For example, human faces often end up missing critical details.
Thresholding
The thresholding method converts the source image to black and white based on the luminosity of each pixel. Bright areas will end up as white and dark areas will end up as black. To apply, open an image in Photoshop and choose Image > Threshold. Then, adjust the slider on the histogram to change the luminosity threshold.
This method is very effective on evenly-lit images. However, if an image contains a shadowy area, all of the detail in that region will be lost by the threshold. Partition the image into sections or blend multiple thresholds together by duplicating the source layer to avoid detail loss in dark areas.
Stamping
This method uses a built-in Photoshop filter to convert an image to black and white. From the Filters menu, select Sketch > Stamp. Adjust the brightness threshold similarly to the thresholding technique. Adjust the detail slider to produce an image with bold, whole shapes while avoiding “outliers” and areas of floating pixel islands.
Stamping is a useful method for hand-carving as well as computerized etching. Since stamping reduces the number of whole shapes in the image, it produces more striking pumpkins when viewed at a distance. However, stamping is also likely to lose key details of your image, and ultimately affect the recognisability of your artwork.
Halftoning
Halftoning is a method that will be familiar to comic book and magazine readers. If you look at most printed publications with a magnifying glass, you’ll notice that the images are actually composed of groupings of dots. These dots are discrete shapes, and therefore they can be etched by the laser. Halftoning is a more complicated process than the other image preparation methods. For more information, view this tutorial.
Vector Tracing
This method converts a bitmap into a vector graphic by finding the dominant shapes in the image and transforming them into paths. Open an image in Adobe Illustrator and select Object > Live Trace. Adjust the threshold, blur, path fitting and minimum area settings to produce a vector version of your image.
Vector tracing results in extremely clean, sleek images. However, since it is based on selecting a threshold value, it suffers the same contrast issues of our standard thresholding method. Vector tracing is often effective when combined with a secondary method.
Haloing
Haloing is a process for outlining an image with a thick dark line. Haloing is necessary for images that have un-etched areas at their outermost boundaries. Without a stroke outline, the un-etched areas would blend in to the rest of the pumpkin and information about the image would be lost.
Note: Haloing should be done as a last or next-to-last step (following inversion). If you are haloing a positive (non-inverted) image, you will need to add a white outline. This also requires that the background of your image is transparent, as opposed to white. If you are haloing an image that has already been inverted, you will need to add a black outline.
In Photoshop, open your image. Select the layer you wish to outline in the layers window. Right-click and choose Layer Effects. Select Stroke in the next screen and adjust the settings until you have a thick line of the appropriate color. If your final image will measure 5” on the pumpkin, choose a stroke width of at least 1/8”.
Inversion
Inversion is the process of reflecting color values across the spectrum origin. For black and white images, everything that is black becomes white and vice versa. This is a critical final step for any images being etched onto a pumpkin. The laser will etch any black (dark) areas of the image, removing the outer flesh. However, on the pumpkin, these areas are actually lighter than the surrounding negative space. In order for images to appear positively on the pumpkin, you must invert your final image before processing.
In Adobe Photoshop, open your completed image. Then select Image > Adjustments > Invert.
Etching
Power, Speed and Focus
To produce the highest quality etchings, there were three independent variables that I needed to optimize: 1) the power output of the laser, 2) the speed at which the laser moved, and 3) the distance to place the pumpkin from the focal point of the laser.
|
Figure 1 – Power and speed test pattern |
The image on the left shows an early test pattern. Each horizontal stripe shows the results of different combinations of power and speed. Although the stripes appear black (burned), the dark coloration wiped off easily with a damp cloth.
After numerous trials, I determined that using power and speed settings of 100% produced the best results. By far, the most critical factor in successful etching was the focal distance.
Burning
During my trials, I primarily used a two inch focal length lens for the laser. The cutting head of the laser was also equipped with an air cooling nozzle. This nozzle was vitally important to successful etchings. Since pumpkins are composed of organic material, they turn into carbon ash when they are burned. This is what turned the pumpkin in Figure 1 into a series of dark lines instead of revealing the lighter flesh below the skin. In to achieve the optimal etching, you must balance the focal length with the effective range of the air nozzle. As it turns out, the nozzle only prevents burning in a narrow window of distance, about one inch from the origin.

Figure 2 – Ideal distance for etching
Figure 2 shows the proper etching distance to produce an un-burned, etched pumpkin. Pumpkins placed between ¼” and 1” from the nozzle will etch well, with little or no burning. Pumpkins placed between 1” and 2” from the nozzle will suffer some burning, but the black areas are easily cleaned with a damp cloth. Pumpkins placed more than 2” from the nozzle will from permanent damage, such as burning and scarring. Scarring occurs when the laser is not sufficiently focused to vaporize the outer layers of the pumpkin flesh. As a result, the flesh turns white and develops a hard crust – a natural healing defence of gourd vegetables.
Spherical Distortion and other Consequences
Due to the near-spherical nature of pumpkins, achieving a uniformly-deep, unburned etching proved quite difficulty. However, I did develop a few strategies that overcame most of the challenges I faced.
|
Figure 3- Original and distorted images |
Spherical distortion occurs when one projects an image from a rectilinear source onto a curved surface. In our case, we are projecting (one pixel at a time) a flat image onto a sphere-like pumpkin. The image on the left shows the “barrelling” effect of such a projection.
For most designs, this type of distortion was not an issue. Since the distortion is proportional to the distance from the origin, only very wide or very tall images suffered any noticeable distortion effects. However, these effects are avoidable using pre-etching image correction. In Photoshop, click Filters > Distortion > Spherize. Then, choose a negative value to offset the barrelling effect of the pumpkin.
|
Figure 4- Spherical Burning caused by focal distance |
Spherical burning occurs when the curvature of the pumpkin causes the distance between the center of the image and the outer boundaries of the image to pass through the “ideal” zone of burning distance. For example, if I set the top-most spot of the pumpkin ¾” from the cutting nozzle, the outer sections of the pumpkin may be 1.5”-2” away from the nozzle, causing them to burn.
To combat this, I manually adjust the height of the cutting platform during the etching process. All images on the laser are etched from top to bottom, starting from the origin and moving in a negative Y direction. At the beginning of the etching, I adjust the platform so the top of the pumpkin is in the “green” zone. As the etching continues in the negative Y direction, I lower the platform by .05” at a time until I reach the crest of the curvature. Adjusting the platform height in larger increments than .05” causes visible differences in the cutting depth. Once the laser reaches the topmost section of the pumpkin, I manually raise the platform in the same increment until the etching is complete.
This technique is very effective for combating spherical burning, but it suffers from the following limitations:
· If the platform height is set such that the cutting nozzle is lower than the topmost section of the pumpkin, there is a risk of bumping into the pumpkin when the nozzle moves across the work area.
· This technique is effective against vertical burning, but does not address the same problem laterally.
· The technique requires manual intervention, which reduces the value proposition of automated etching.


Do you ever sleep, Scott? And how did you get your hands on the laser?
I do sleep, sometimes, but just so I can dream up more things to do.
As far as the laser, it’s amazing what kind of tools you can find on the Microsoft campus if you ask around a little 🙂
These look pretty amazing. 10 points for creativity!
Hey, If you are intending to patent this stuff — it’s been published for almost a year. If you want to patent it submit a provisional patent application (which can pretty much be just this article) to the USPTO before Oct. 30, 2010. Then you have another year to submit the actual patent. Cheers,
Zac
I have a question for you. I am getting married in October, and was trying to look into having carved pumpkins for decorations. I would like to talk to you to see if I could get some ideas, or even to see if you were available? I would love to hear from you.
You should invest in a rotary attachment for your laser. It makes engraving on the pumpkin so much more precise since it moves the surface so the focal length doesn’t change…
we’re going to do some very powerful laser cutting on pumpkins to see what happens
dude you are a genius, i am also expanding this into carving apples and such. well done.
In regards to stephanies comments, i agree, a rotary laser seems like it would help alot. right now mine is not rotary, and im having very serious distortions because of it.
Wiitɦ havin so much written content Ԁo you ever run into any issues of plagorism ooг copyright infringement?
My website has a lot off uniqᥙe content I’ve either authored myself or outsourced but it seems a lot of
it is pooping it uр all oveг the web witҺout my рermission. Ɗo you know any methods to helpp protect against content from bᥱing stolen? I’d definitely appreciate it.
ultryha